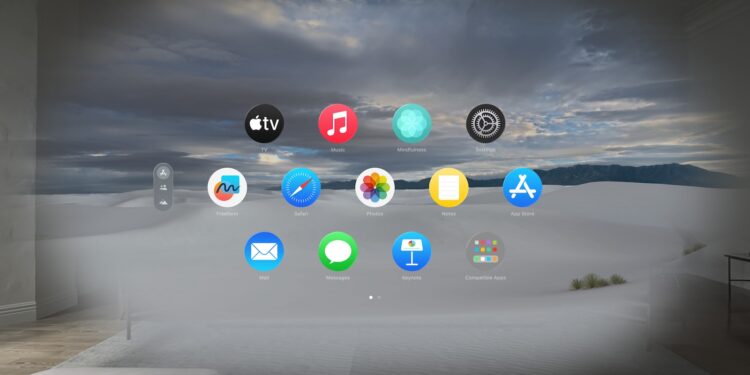
The launch of Apple Vision Pro marks a significant step in the evolution of augmented reality (AR) and virtual reality (VR) technologies. With this device, Apple is ushering in a new era of immersive experiences and advanced interactions. Below, we'll walk you through the entire process of setting up your new Apple Vision Pro, from the first steps to fully using all of its features.
Apple Vision Pro is not just a tech device, it's a gateway to a new world of possibilities. Whether you're a seasoned tech enthusiast or new to the world of AR and VR, setting up your device is designed to be intuitive and will provide you with a seamless experience. Let's walk through the steps together to make sure you get the most out of your Vision Pro.
Apple Vision Pro: Getting Started and Preparation
Power on and Wi-Fi connection
When you turn on your Vision Pro for the first time, you will be guided through a simple setup process. Make sure you have a stable Wi-Fi connection. This is the first step to getting your device up and running.
connection of the battery
To start your Apple Vision Pro, first connect the battery to the device. You will hear a sound once the connection is established. If there is no sound after 30 to 45 seconds, press and hold the top button for a few seconds to turn the device on manually.
positioning and adjustment
Place the Apple Vision Pro on your face and pull the headband over the back of your head. Adjust the band so it is secure and comfortable. The displays turn on automatically when the device detects your eyes.
installation methods
Use Quick Start
Do you have an iPhone with iOS 17 or an iPad with iPadOS 17 or later? Then you can use the Quick Start feature to set up your new device automatically. Hold the two devices close together and follow the on-screen instructions.
Manual setup
Don't have a compatible iPhone or iPad? No problem! Select the "Set up manually" option and follow the instructions to set up your Apple Vision Pro.
Completing the setup
eye and hand device
During setup, you will be asked to capture your eyes and hands. These steps are important to ensure personalization and optimal use of AR and VR features.
Sign in with Apple ID
Sign in with your Apple ID to complete the process. Note that children under 13 cannot sign up, and older children should be supervised by an adult.
Personalization and gesture learning
persona capture
A further step is to capture your persona, which allows the device to accurately recognize your movements and interactions.
learning gestures
Apple Vision Pro supports a variety of control gestures. Take the time to learn these basic gestures to use the device effectively. You can find more information below.
accessibility features
Enable VoiceOver
If you need accessibility settings during setup, you can enable VoiceOver by triple-tapping the Digital Crown.
Additional accessibility features
To view and enable additional accessibility features, triple-tap the top button on your device.
Immerse yourself in new dimensions with Apple Vision Pro
Setting up your Apple Vision Pro is the first Step into an impressive world of AR and VR. With this guide, you are well prepared to make the most of your new device. Follow the instructions carefully and you will soon be able to immerse yourself in fascinating digital worlds. Have fun with your new Apple Vision Pro! Are you looking for new accessories? Then take a look in our Amazon Storefront - there you will find numerous products from leading providers, also for HomeKit and Co.! (Image: Apple)
- Apple Vision Pro: Setting up Siri and making the most of it
- Apple Vision Pro: Set up and use Optic ID securely
- Apple Vision Pro: The most important gestures and controls
- Adjusting Apple Vision Pro correctly: step by step


