With the launch of iOS 15, Apple renamed its paid iCloud plans to "iCloud+." The reason for this name is that subscribers now have access to additional privacy features like Private Relay and Hide Email Address. Below, I'll show you how to use the Hide Email Address feature.
The Hide Email Address feature essentially builds on the Sign In with Apple idea by providing you with unique, randomly generated email addresses that are forwarded to your personal inbox if you want to keep your personal email address private. This is especially useful if you want to prevent email address sales. After all, not every company or platform keeps your data private. Often email addresses are sold to advertising agencies or other companies for marketing purposes. In the end, you not only end up being spammed with ads, but also getting emails from scammers. Using a randomly generated email address means that you can delete the address at any time to ensure that unwanted emails are no longer delivered to you.
Hide email address on iOS 15: How to create a new email address
Below I will show you how to create a corresponding email address that is randomly generated by the system.
- Open the Settings app on your iPhone or iPad.
- Tap your Apple ID name at the top of the Settings main menu.
- Now tap on iCloud.
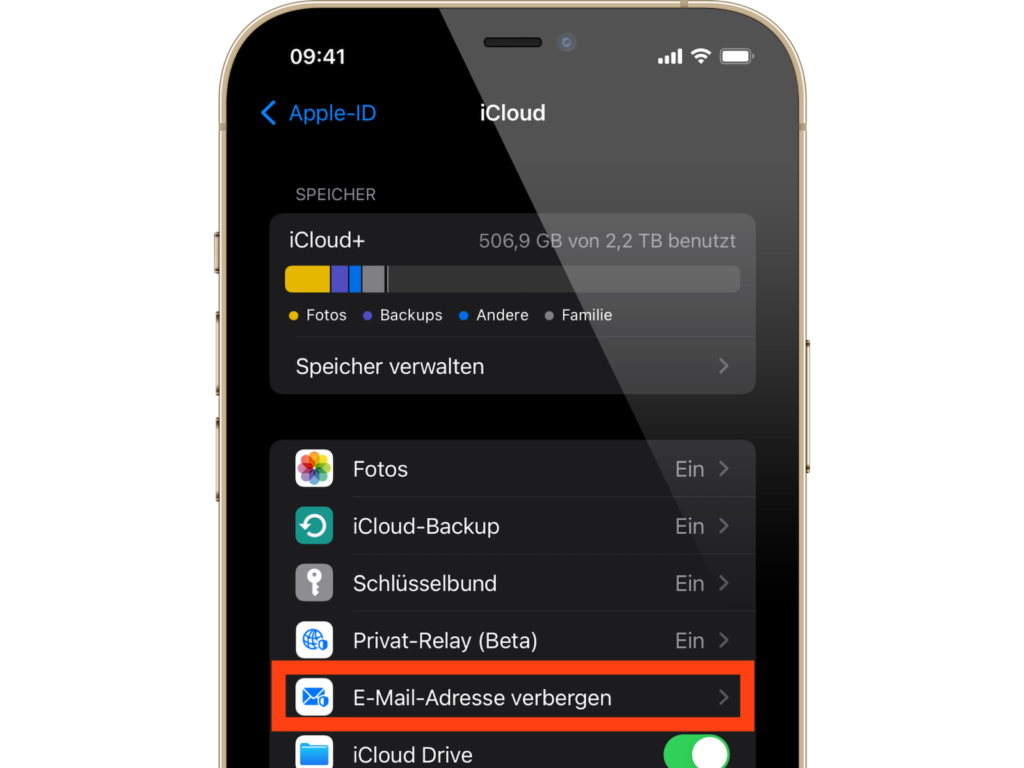
- Next, select “Hide email address.”
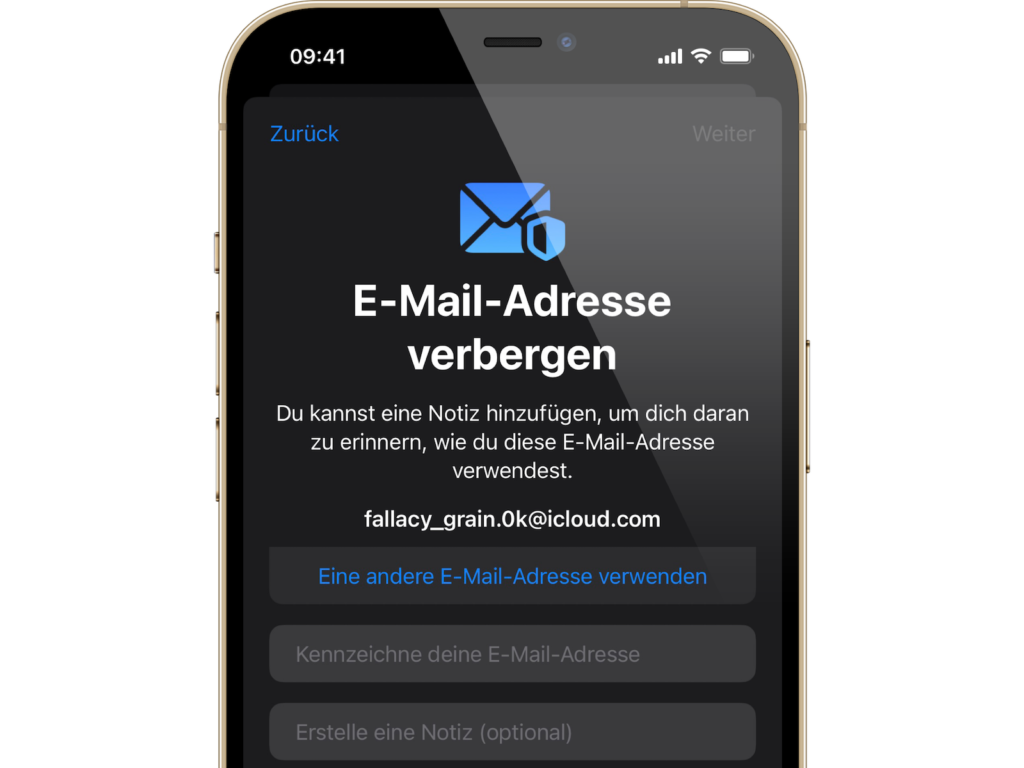
- Tap Create new email address.
- Now tap Continue and give your email address a name. You can also optionally add a note. This is the easiest way to identify what you are using this email address for.

- Now you can tap Next and then select Done.
You can now use the randomly generated email address when you send emails in Mail or when a website in Safari asks you to enter your email address.
At this point, I recommend using a separate email address for each service. It is both clearer and easier if you want to delete an email due to spam or something similar.
This is how you can deactivate an email without deleting it
If you decide that you no longer want to use a particular email address temporarily, you can deactivate it without having to delete it straight away.
- Open the Settings app on your iPhone or iPad.
- Tap your Apple ID name at the top of the Settings main menu.
- Now tap on iCloud.
- Next, select “Hide email address.”
- Now tap on the email address in the list that you want to deactivate.
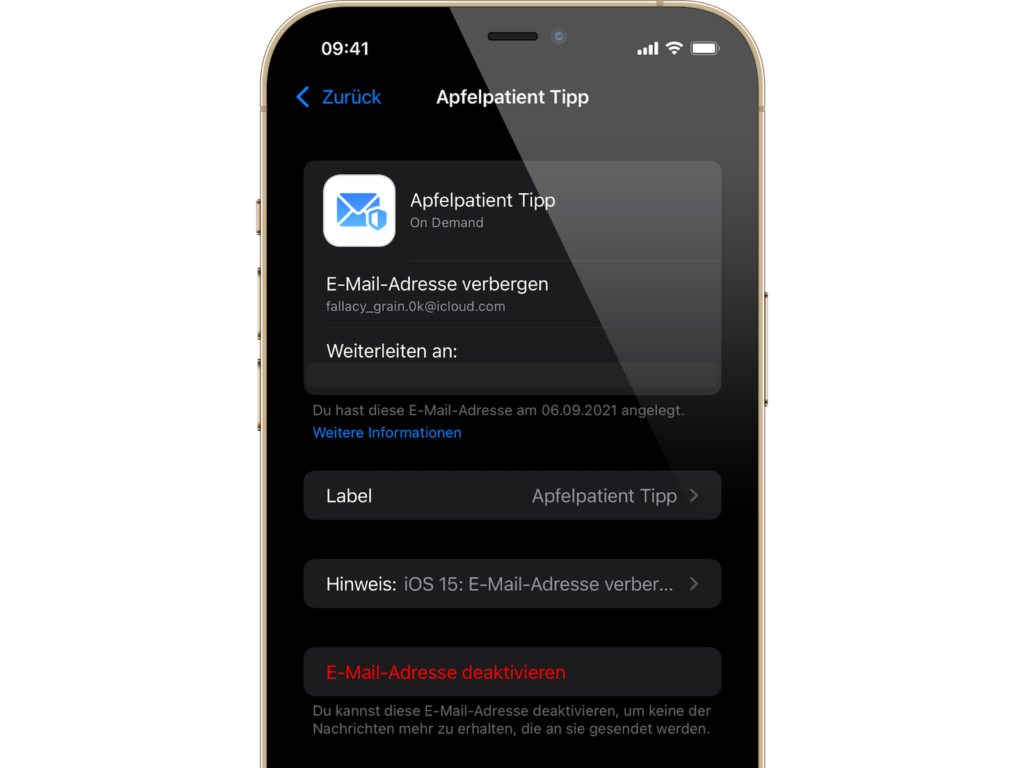
- Tap Deactivate Email Address.
- Tap Disable again to confirm.
From now on, you will no longer receive emails sent to this address. Of course, you can activate this email address at any time in the same way. However, it will be listed in the "Inactive Email Addresses" section.
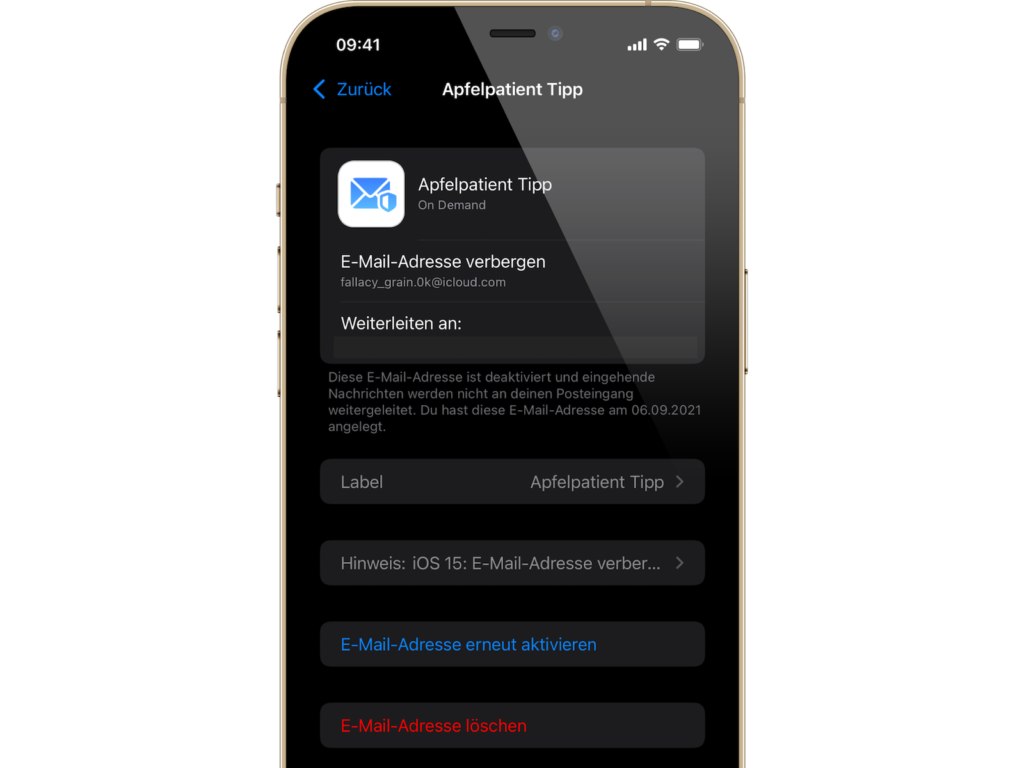
If you no longer have any use for a particular email address, you can delete it completely. Are you looking for new MagSafe accessories from Apple? Then take a look at AmazonThere you will find Apple's MagSafe chargers, power adapters, cases and the external battery at a discount. In addition, we have dozens of other recommendations in our storefront, including from Nomad, Anker and Pitaka – enjoy browsing. (Photo by Alvaro Perez / Unsplash)