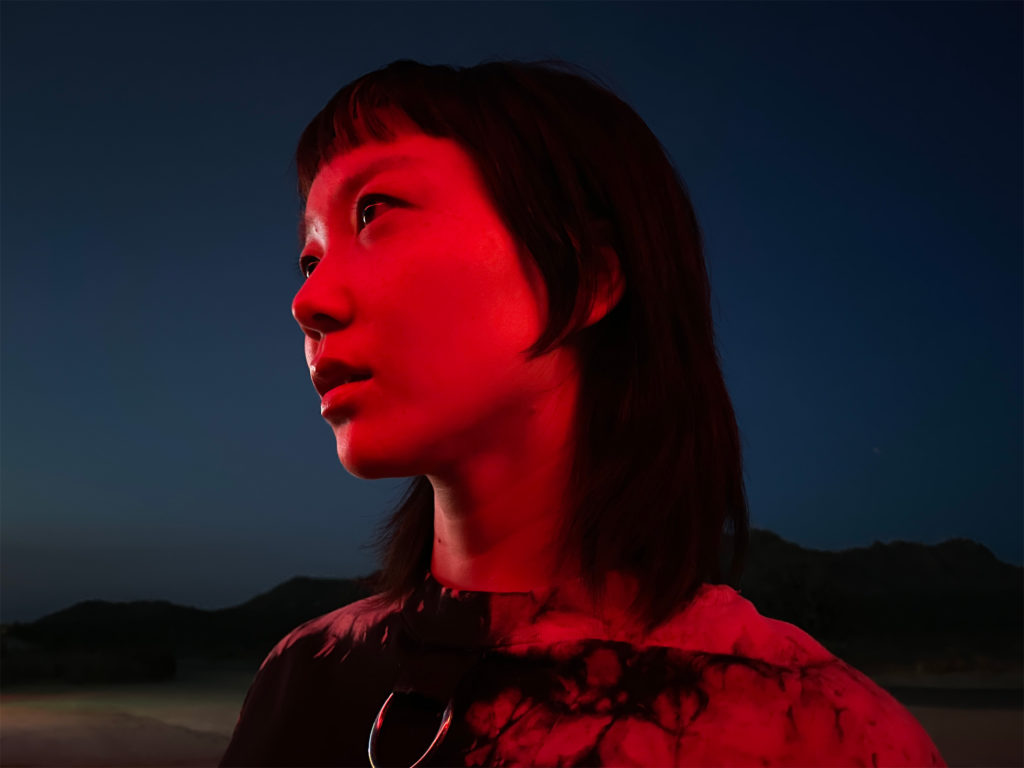
Apple has given the iPhone 12 a whole host of useful features, including night mode for selfies.
Night mode was first introduced with the iPhone 11 series presented. In the new iPhone generation, the feature expandedThis means that in addition to the wide-angle lens, the ultra-wide-angle lens and the TrueDepth camera now also support the function. Anyone who has taken a selfie in poor lighting conditions has previously had to rely on the display. This usually creates an artificial flash. But with the iPhone 12, all of this changes - thanks to night mode. This is not a function that can simply be selected like portrait mode, for example. Apple has designed this important feature to work automatically. In order for night mode to be activated, the iPhone must detect a slightly lower light value. If this is the case, you can adjust the specified exposure time yourself. Depending on the environment, different exposure times are available to choose from.
iPhone 12: Take selfies in night mode and change exposure time
Open the camera app on your iPhone 12 and tap the round arrow symbol at the bottom right to switch to the front camera. Now pay attention to the small moon symbol in the top left corner (bottom left or top right when using in landscape format). Yellow means that night mode is automatically switched on and is therefore ready. However, if the moon symbol is displayed in white, iOS leaves it up to the user to decide whether they want to activate night mode. Note: If the ambient light is bright enough, the mode cannot be activated. This means that the moon symbol is not displayed at all. If the specified exposure time does not suit you, you can display the slider with another tap and decide for yourself. You can then press the shutter button. Important: The iPhone should be held as still as possible when taking a night photo in order to achieve the best possible result. Have fun taking selfies. (Photo by weyo / Bigstockphoto)